When I was first learning React I went through about 17 tutorials before I finally grokked what it was all about. Which is weird because React is quite simple really.
I’m gonna build the tutorial that I wished I’d had when I started learning it.
I’ll assume my reader knows Rails very well but knows just enough Javascript to add sprinkles. I won’t try to teach you React, but I’ll point you in the right direction to learn what you need to know.
Let’s do this.
But “Do what?” you may ask?
We are going to build a blogging platform. It’s going to be Rails on the back end and React on the front end. We’re going to test with Minitest, Jest and Enzyme as we go along. We’ll deploy it on Heroku. We’ll use CircleCI for continuous integration.
We are not going to use Redux. I have an idea for a more object-oriented state management system that leverages the rich metadata that Rails already has and, hopefully, avoids all the acres of boilerplate code that every other React tutorial seems to generate. I don’t have a design for this in mind. I’m hoping one will emerge as we go along.
Let’s start with a quick planning session. What do we want our blogging platform to do?
An author can publish a blog post.
A reader can read a blog post.
The home page shows a list of posts, most recent first.
An author can edit a blog post.
Readers can comment on a post.
Comments are held for moderation.
The author can approvecomments.
Notify the author when there are comments.
At some point we’ll want to upload images and have multiple authors and fancy formatting and RSS feeds and other blogphernalia but that list is enough to get us started.
I’ll tackle the second story first because I like to get something working from end to end as quickly as possible and reading a post has fewer moving parts than creating one.
There’s a bit of boilerplate-like overlap between the views and it’s tempting to try to abstract that away into the library but I actually like what Rails does with scaffolded views where it generates something simple that you can later edit. Maybe I’ll do that. Maybe I’ll do both.
I still need to build the Editor for users but that can wait until I get a bit further along with my understanding of forms in React. I think I want to work on a proper navigation scheme for the app first. It’s all a bit of a mess at the moment. But first we’ll have to learn about how to handle routes in React.
The next story wants us to let authors edit their own posts but we don’t have an association between posts and users yet.
An author can edit a blog post.
We don’t have a way to create users either, except in the Rails console.
Normally, we’d scaffold a UI in Rails, but I want to do this in React to see how the Store that we created for posts generalises to other models and associations.
I’ll start by adding some missing details to the user model.
# rails g migration AddNameToUser name:string
class AddNameToUser < ActiveRecord::Migration[6.1]
  def change
    add_column :users, :name, :string
    add_column :users, :role, :integer
    add_index :users, :name, unique: true
  end
end

# User.rb
class User < ApplicationRecord
  authenticates_with_sorcery!
  enum role: [:guest, :author, :admin]

  validates :name,
            presence: true,
            uniqueness: true,
            length: { minimum: 2, maximum: 20},
            format: /\A[a-z_][\sa-z0-9_.-]+\z/i

  validates :email,
            presence: true,
            uniqueness: true,
            format: /\A[^@]+@[^@]+\.[^@]+\z/i
end
Now I’ll add a UsersController to return some JSON to the client. The tests are on GitHub.
# routes.rb
Rails.application.routes.draw do
  root to: 'posts#index'
  resources :posts
  resources :sessions
  resources :users

  get :sign_in,  to: 'sessions#new', as: :sign_in
end
class UsersController < ApplicationController
  skip_before_action :require_login, only: :show
  before_action :require_admin, except: :show
  before_action :set_user, except: :index

  helper_method :current_user, :admin?

  def index
    @users = User.by_name
  end

  def show
  end

  protected
  def set_user
    @user = User.find params[:id]
  end

  def admin?
    current_user&.admin?
  end

  def require_admin
    require_login
    raise Errors::AccessError unless admin?
  end
end
# app/lib/errors/access_error.rb
class Errors::AccessError < StandardError
-# views/users/index.json.jbuilder
json.users do
  json.partial! 'users/user', collection: @users, as: :user
end
-# views/users/_user.json.jbuilder
if admin?
  json.extract! user, :id, :name, :email, :role, :created_at, :updated_at
else
  json.extract! user, :id, :name
end
Now, after a bit of tidying, we have an AccessControl concern…
# app/controllerrs/concerns/access_control.rb
module AccessControl
  extend ActiveSupport::Concern

  included do
    before_action :require_login
    helper_method :current_user, :admin?
  end

  protected
  def admin?
    current_user&.admin?
  end

  def require_admin
    require_login
    raise Errors::AccessError unless admin?
  end
end
…that gets loaded by the ApplicationController and the UsersController simplifies to this:
class UsersController < ApplicationController
  skip_before_action :require_login, only: :show
  before_action :require_admin, except: :show
  before_action :set_user, except: :index

  layout 'react'

  def index
    @users = User.by_name
  end

  def show
  end

  protected
  def set_user
    @user = User.find params[:id]
  end
end
I also extracted a layout file for the react container so I don’t have to repeat it for every view that needs it.
<% content_for :body do %>
  <div id='react' data-user-id='<%= current_user&.id%>' />
<% end %>

<%= render template: 'layouts/application' %>
And now for the bit that I am most interested in. I want to make it as easy to create a React app — for the CRUD actions at least — as it is to do with Rails views.
Let’s look at the Store that we created for posts.
export class Store {
  constructor() {
    this.all = []
    this.by_id = {}
    this.subscribers = []
  }

  async list() {
    const {posts} = await list()
    this.addAndNotify(posts)
    return posts
  }

  async find(id) {
    let post = this.by_id[id]
    if(! post) {
      post = await fetch(id)
      this.addAndNotify(post)
    }
    return post
  }

  async create(post) {
    post = await create(post)
    // todo don't add it to the store unless it is valid
    this.addAndNotify(post)
    return post
  }

  addAndNotify(post_or_posts) {
    if(Array.isArray(post_or_posts))
      post_or_posts.forEach(post => this.add(post))
    else
      this.add(post_or_posts)

    this.all = Object.values(this.by_id).sort(by_created_at)
    this.notify()
  }

  add(post) {
    this.by_id[post.id] = post
  }

  // extract this to a class
  subscribe(fn) {
    this.subscribers.push(fn)
  }

  unsubscribe(fn) {
    this.subscribers = this.subscribers.filter(subscriber => subscriber !== fn)
  }

  notify() {
    //  do a dispatch thing here with a queue
    this.subscribers.forEach(fn => fn())
  }
}

export const store = new Store()
There’s nothing about that that is specific to posts. It should work for any model so let’s extract the beginning of a library for binding the React UI to the Rails API with minimal coding.
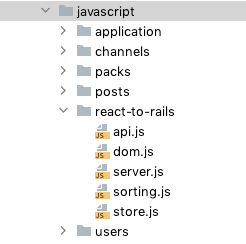
I moved the Store to the new directory that will be the start of our library and parameterised the constructor to take a type.
// ReactToRails/store.js
export default class Store {
  constructor(type) {
    this.type = type
    this.plural = pluralize(type)
    this.all = []
    this.by_id = {}
    this.subscribers = []
  }
  // ...
I moved everything into this directory that is not part of the Blogging domain: api.js; sorting.js; server.js. Everything.
I parameterised the api calls to take a type. It uses the simple rule that URLs take the form /plural-of-type.json which covers the majority of URLs. When we get one that doesn’t follow this rule, we’ll do something more sophisticated.
export function fetch(type, id) {
  return server.get(pathToShow(type, id))
}

export function list(type) {
  return server.get(pathToIndex(type))
}

export function create(type, record) {
  return server.post(pathToIndex(type), {[type]: record})
}

function pathToShow(type, id) {
  return `/${pluralize(type)}/${id}.json`
}

function pathToIndex(type) {
  return `/${pluralize(type)}.json`
}

export function pluralize(type) {
  return `${type}s`
}
That’s 98% boilerplate and we can extract that away to the library too. Let’s try a higher-order component (HOC) the way that Redux does for connected components.
It’s functionally equivalent to the ConnectedList we had before, but this one lets us pass in a store object and a List component. and it doesn’t care about the types.
Here’s what it does:
Fetch a list of records from the store.
Subscribe to updates from the store.
Updated the WrappedList when the records are added to the store.
Now that we are all secure, we can deploy our new blogging platform to the interwebs. Heroku makes it super easy and gives you clear instructions at every step. I’ll just summarize the highlights here.
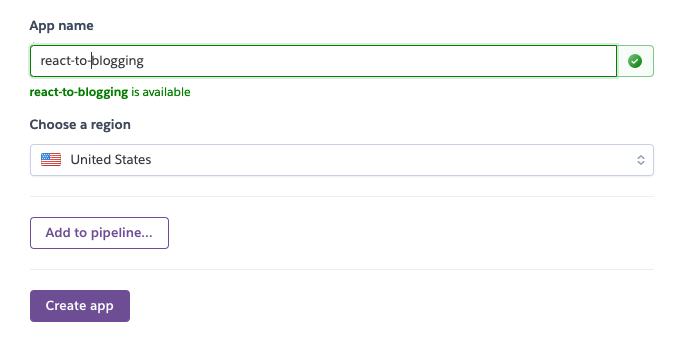
Start by creating a Heroku account and then go to your Heroku dashboard at https://dashboard.heroku.com/apps and click the NEW button.
Heroku has a free tier that restricts you to a certain number of hours of availability and rows in the database. Even the next level up (Hobby Tier) only costs $7 per month.
Once the app is created, Heroku gives you custom instructions to deploy your app.
For me it was:
heroku login
heroku git:remote -a react-to-blogging
git push heroku master
Heroku does not run the database migrations automatically so I’ll do that now.
heroku run rails db:migrate
I’ll need to create a user and sign in before I can post. I can get to the rails console with…
One last thing: While I was deploying, I noticed a warning message saying that a Procfile is recommended. I haven’t seen any downsides of not having one but it gives you a place to run migrations automatically so I’ll add one now.
If we publish a blogging platform to the internet with no security, bad people will post spam and mess it up for everyone. Let’s add a sign-in form to keep the bad guys out.
I like the Sorcery gem because it just quietly does its thing without imposing its opinions on registration flow like Devise does.
class User < ApplicationRecord
  authenticates_with_sorcery!
end
We’ll need a SessionsController for the sign in method.
rails g controller Sessions
I think it’s interesting to show the tests for this. It can be a mini-tutorial for folks who have never used Sorcery before and need help writing integration tests with it.
require "test_helper"

class SessionsControllerTest < ActionDispatch::IntegrationTest
  setup do
    @sally = User.create! email: 'sally@example.com',
                          password: 'letmein'
  end

  test 'sign in renders a form' do
    get sign_in_url
    assert_response :success

    assert_select 'form' do
      assert_select '#credentials_email'
      assert_select '#credentials_password'
      assert_select 'input.submit'
    end
  end

  test 'redirect to home page after sign in' do
    post sessions_url, params: {
        credentials: {
            email: 'sally@example.com',
            password: 'letmein',
        }
    }
    assert_redirected_to root_url
  end

  test 'rerender the form if sign in fails' do
    post sessions_url, params: {
        credentials: {
            email: 'sally@wrong.com',
            password: 'wrong',
        }
    }
    assert_response :success

    assert_select '.form' do
      assert_select '.error', 'Invalid Login'
      assert_select '#credentials_email' do |elements|
        assert_equal 'sally@wrong.com', elements[0][:value]
      end
    end
  end
end
// routes.rb

  resources :sessions
  get :sign_in,  to: 'sessions#new', as: :sign_in
class SessionsController < ApplicationController
  def new
  end

  def create
    credentials = credential_params

    login(credentials[:email], credentials[:password]) do |user, failure|
      if failure
        @email = credentials[:email]
        @error = failure
        render action: 'new'
      else
        redirect_back_or_to(:root)
      end
    end
  end

  private
  def credential_params
    params.
        require(:credentials).
        permit(:email, :password)
  end
end
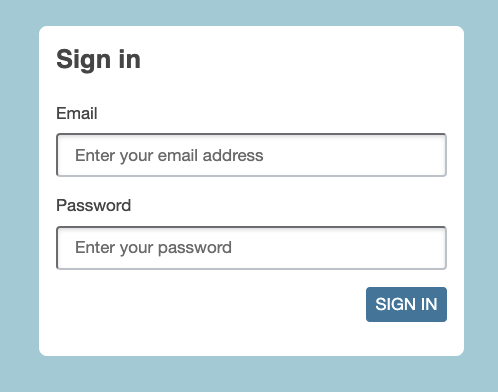
The view is pretty simple but it took me a while to remember how to write ERB. I usually use HAML as it’s so much easier to read and write.
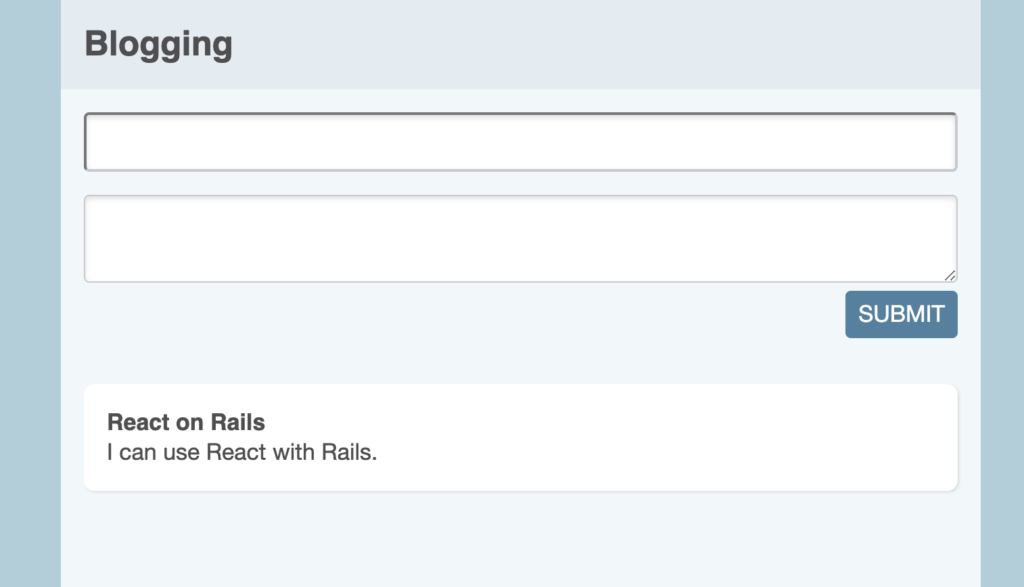
That test passes and a little bit of CSS magic gives me this
I’d like the sign in to be in React someday but it’ll be a distraction for now and I’ll come back to it later. No one said that all my UI must be in React anyway.
If I create a user in the Rails console, I’ll be able to sign in.
Now we can protect the important controller actions. I find it safest to require login on everything and to then make exceptions for the public-facing actions.
class ApplicationController < ActionController::Base
  before_action :require_login

class PostsController < ApplicationController
  skip_before_action :require_login, only: [:index, :show]

class SessionsController < ApplicationController
  skip_before_action :require_login
If I run all the Rails tests now, I see a failure.
PostsControllerTest#test_create_a_blog_post:
Expected response to be a <2XX: success>,
but was a <302: Found> redirect to <http://www.example.com/>
Response body: <html><body>You are being <a href="http://www.example.com/">redirected</a>.</body></html>
I can update the test to sign in first.
  test 'create a blog post requires a sign in' do
    post posts_url(format: :json), params: {
        post: {
            title: 'A new day',
            body: 'First post!'
        }
    }
    assert_redirected_to root_url
  end

  test 'create a blog post' do
    sign_in @sally
    post posts_url(format: :json), params: {
        post: {
            title: 'A new day',
            body: 'First post!'
        }
    }
    assert_response :success
    # ...
  end
The sign_in method exists in a test helper:
module TestHelpers
  module AuthenticationTestHelper
    def sign_in user, options={}
      password = options[:password] || 'letmein'
      post sessions_url,
           params: {
               credentials: {
                   email:    user.email,
                   password: password
               },
           }
    end
  end
end
It’s a bit of faffing to set up a test helper that is accessible to all the tests, but it make them more readable if you do.
# test/test_helper.rb
ENV['RAILS_ENV'] ||= 'test'
require_relative "../config/environment"
require "rails/test_help"
Dir['test/test_helpers/*.rb'].each {|file| require file.sub(/^test\//, '') }

class ActiveSupport::TestCase
  parallelize(workers: :number_of_processors)
  fixtures :all
end

class ActionDispatch::IntegrationTest
  include TestHelpers::JsonTestHelper
  include TestHelpers::AuthenticationTestHelper
end
While I am here, I’ll create a test helper for JSON testing too. That’s been bothering me for a while. I just updated the test above to use it.
module TestHelpers
  module JsonTestHelper
    def json_response options={}
      assert_response options[:expected_response] || :success
      JSON.parse response.body, symbolize_names: true
    end
  end
end
The last thing left to do is to hide the postEditor if the user is not signed in.There are a bunch of ways we can send the current user to the React client. The easiest, for now, is to add a data property to the div that contains the React application. We can do something more sophisticated later.
Before we continue, let’s revisit the plan and see where we are and where we want to go next.
Here’s the plan we started with.
An author can publish a blog post.
A reader can read a blog post.
The home page shows a list of posts, most recent first.
An author can edit a blog post.
Readers can comment on a post.
Comments are held for moderation.
The author can approvecomments.
Notify the author when there are comments.
The first three are done and I have the MVP of a blogging platform working already. I’d like to deploy it to Heroku but I am not silly enough to deploy a blog to the internet that anyone can post to. I need to add registration and sign in to keep the bad guys out.
Here’s my revised plan.
An author can publish a blog post.
A reader can read a blog post.
The home page shows a list of posts, most recent first.
An author can sign in.
An author can edit a blog post.
Readers can comment on a post.
Comments are held for moderation.
The author can approvecomments.
Notify the author when there are comments.
Let’s get the registration and sign in done next so we can safely deploy to Heroku.
We just discovered a problem though. Although you can create a new post, it doesn’t show up in the list of posts unless you refresh the page.
This is the point where I would usually reach for Redux but I have an idea for a state management library that is more Rails-friendly and requires less boilerplate code. Will it work? Who knows! Maybe I’ll just end up rebuilding Redux.
I am going to try though.
I want something that will be familiar to Rails developers and use many of the same API conventions. I’ll try to follow the Rails ideal of convention-over-configuration and, where there is configuration already on the server, I’ll try to use that. Wish me luck!
Let’s start with a Store that can be accessed by all the connected components.
// posts/Store.test.jsx
describe('The post store', () => {
  test('is initially empty', () => {
    const store = new Store()
    expect(store.all).toEqual([])
  })
})
// posts/Store.js
export class Store {
  constructor() {
    this.all = []
  }
}

// There's one store accessible to whoever needs it.
export const store = new Store()
If someone calls list(), the store should go fetch posts from the server.
describe('The post store', () => { let store server.send = jest.fn() const post = { id: 1, title: 'The Title', body: 'The body.', }
Now we’ll edit ConnectedList to get its posts from the store instead of directly from the server. No need to change the tests; they should still just work.
Our next trick is to notify subscribers when a post is added to the store.
  test('notify subscribers when a post is added to the store', async () => {
    const subscriber = jest.fn()
    store.subscribe(subscriber)

    store.addAndNotify(post)

    expect(subscriber).toBeCalled()
    expect(store.all[0]).toEqual(post)
  })
And now we can hook the ConnectedList component up as a subscriber to the store.
// posts/List.test.jsx
  test('updates the list when a post is added to the store', async () => {
    server.send.mockReturnValue({posts: []})

    const component = await displayConnected(<ConnectedList store={store} />)
    assert_select(component, '.post', 0)

    store.addAndNotify(post)
    component.update()
    assert_select(component, '.post', 1)
  })
I did a little tidying here to allow us to pass in the store as a property to make tests easier to isolate from one another.
And, finally, here’s the ConnectedList, now subscribing to changes in the store.
I’m going to stop showing all my tests from here on since you probably get the idea already and it’s TDDious to show every little change. I’ll share the test if there is something new and interesting but, otherwise, I’ll stick to the code. I am still TDDing behind the scenes of course and, if you are interested, you can see all the tests in the GitHub repository here.
There are a couple of loose ends though. I should make all the components use the store instead of doing their own thing.
I’ll start with ConnectedPost. I’ll make the store maintain a list of posts by id and return the local copy if it already has one.
I had a couple of gaps in my tests (I wasn’t testing the ConnectedPost) and I ran into the issue again where the HTML was not updated after an asynchronous call to the server. I did a a little research to figure out why.
When you make a call with await in a function, like this:
  async componentDidMount() {
    const post = await fetch(this.props.id)
    this.setState({post})
  }
Javascript returns a promise which gets resolved later. The React framework takes care of that eventually but, when you render your component in a test, you need to make sure all the promises are resolved before you check the resulting HTML.
Jest gives us a function to make that happen and I am going to add a helper to my React helper file to make it easy to use.
// ReactHelper.jsx
export const resolveAllPromises = () => new Promise(setImmediate)
Whenever I test a component that makes asynchronous calls, I have to remember to call resolveAllPromises() and make the test function async, like this:
// posts/Post.test.jsx
  test('fetches a post from the server', async () => {
    server.send.mockReturnValue(post)

    const component = display(<ConnectedPost id={1}/>)
    await resolveAllPromises()
    component.update()

    assert_select(component, '.post .title', 'The title')
    expect(server.send).toBeCalledWith('/posts/1.json')
  })
But wait! Why should I have to remember do call that every time? I can add it to the helper like this:
  test('fetches a post from the server', async () => {
    server.send.mockReturnValue(post)

    const component = await displayConnected(<ConnectedPost id={1}/>)

    assert_select(component, '.post .title', 'The title')
    expect(server.send).toBeCalledWith('/posts/1.json')
  })
I’m glad that’s straightened out. Back to the storyline.
As of now, we can create a new post and we can show one hard-coded post. It’s almost time to add some structure and navigation to our app. Let’s show a list of posts first, though, and we can think about how we navigate between items later.
Let’s add a list component to show all the posts. We’ll fake it in the front end…
// /javascript/posts/List.jsx
export default class List extends React.Component {
  render() {
    return 'list of posts'
  }
}
… until we have the backend in place.
The posts.index action in PostsController will return the React application if you request HTML and a list of posts if you request JSON.
# PostsControllerTest.rb

test 'the index page just returns the react application' do
  get posts_url
  assert_select '#react'
end

test 'fetch a list of posts as json' do
  get posts_url(format: :json)
  assert_response :success
  json = JSON.parse response.body, symbolize_names: true

  assert 1, json[:posts].count
  assert 'The title', json[:posts][0][:title]
end
# PostsController.rb

def index
  @posts = Post.all.order(created_at: :desc)
end

# index.json.jbuilder
json.posts do
  json.array! @posts do |post|
    json.extract! post, :id, :title, :body, :created_at, :updated_at
  end
end
And, if I open http://blogging.local:3000/posts.json in the browser, I see my posts. Now to fetch them from the client.
I’ll add an API methods to fetch the list of posts…
// posts/api.js

export function list() {
  return server.get(`/posts.json`)
}
…and update the List component to call it and render the list.
That’s all straightforward, I think, except: note the key property in <li key={post.id}>.
React performs optimisations by keeping track of changes to the React component tree and only re-rendering components that have changed since the last render. When you render an array of components you should provide a unique key to each component to help React figure out what has changed.
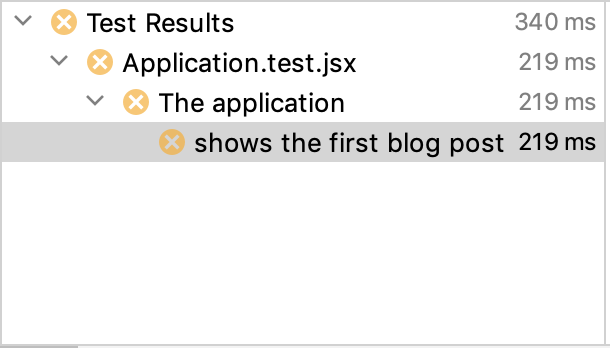
If I run all the Javascript tests now, I see a failure in the top-level Application.test.jsxbecause it is still expecting a single Post component rather than a list.
Let’s fix that.
// Application.test.jsx
describe('The application', () => {
server.send = jest.fn()
const post = {
id: 1,
title: 'React on Rails',
body: 'I can use React with Rails.',
}
const posts = [post]
beforeEach( () => {
// Return a list of posts instead of a single post
server.send.mockReturnValue({posts})
})
test('shows a list of blog posts', async () => {
const component = await display(<Application />)
component.update()
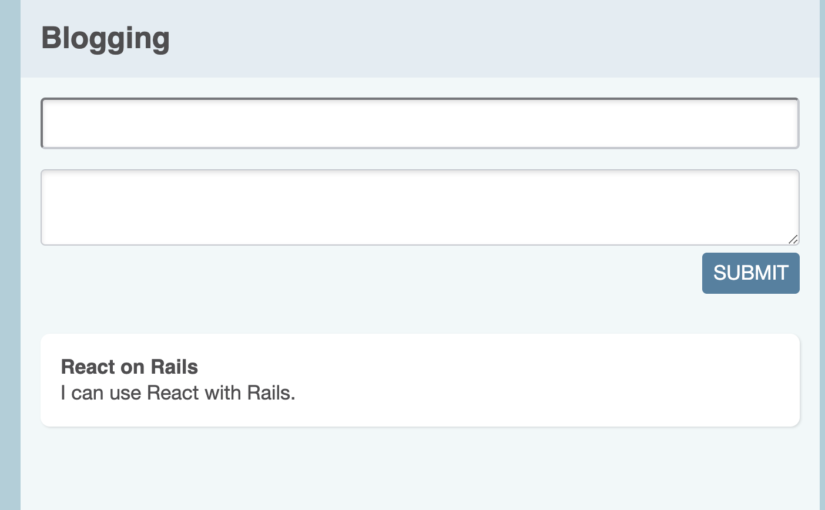
assert_select(component, '.site-name', 'Blogging')
assert_select(component, '.post .title', 'React on Rails')
assert_select(component, '.post .body', 'I can use React with Rails.')
expect(server.send).toBeCalledWith('/posts.json')
})
})
I’m not sure why, but I had to add component.update() to get the list component to render the correct HTML (I think this might be a bug in Enzyme).
I like to think of the top-level Application.test as a kind of smoke test that tests the whole application from end to end, albeit in a rather shallow fashion. It won’t tell us anything profound about the application’s behaviour but it might flag some future regression that would be missed by lower-level unit tests.
As I did with the Post.test, I’ll duplicate this test as a unit test so I can test the List component more thoroughly. But first I am going to split the component into a List that knows how to render a list of posts and a ConnectedList that knows how to fetch a list of posts from the server.
This seems like a lot of faff when I am typing it into WordPress but it’s literally 10 seconds of copy-paste in the IDE and my future self will thank me when I need to write more complex tests and I can do so without loading the whole framework.
And here are the tests: one for the List and one for the ConnectedList.
// posts/List.test.jsx
describe('The post list', () => {
  server.send = jest.fn()

  const post = {
    id: 1,
    title: 'React on Rails',
    body: 'I can use React with Rails.',
  }
  const posts = [post]

  test('shows a list of blog posts', () => {
    const component = display(<List posts={posts}/>)

    assert_select(component, '.posts-list .post', 1)
    assert_select(component, '.post .title', 'React on Rails')
    assert_select(component, '.post .body',  'I can use React with Rails.')
  })

  test('fetches the list of blog posts from the server', async () => {
    server.send.mockReturnValue({posts})

    const component = await display(<ConnectedList />)
    component.update()

    assert_select(component, '.posts-list .post', 1)
    expect(server.send).toBeCalledWith('/posts.json')
  })
})
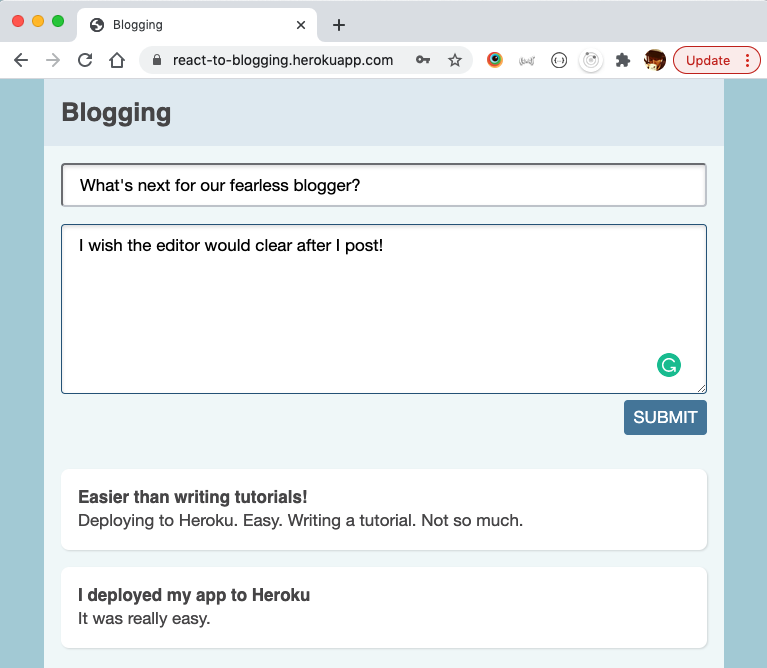
A quick test in the browser shows that I can show a list of posts from the server and I can create a new one except… Ooops!… the new one doesn’t get added to the list unless I refresh the page.
This is the kind of problem that Redux will solve for us but I have a different approach in mind. We’ll give it a try in the next episode.
POST http://blogging.local:3000/posts.json 422 (Unprocessable Entity)
…and the rails log says the problem is ActionController::InvalidAuthenticityToken.
Rails adds the CSRF token to forms automatically but we need to take care of that ourselves in this brave new world. The default rails layout adds the CSRF token to the header and we can access it with this code.
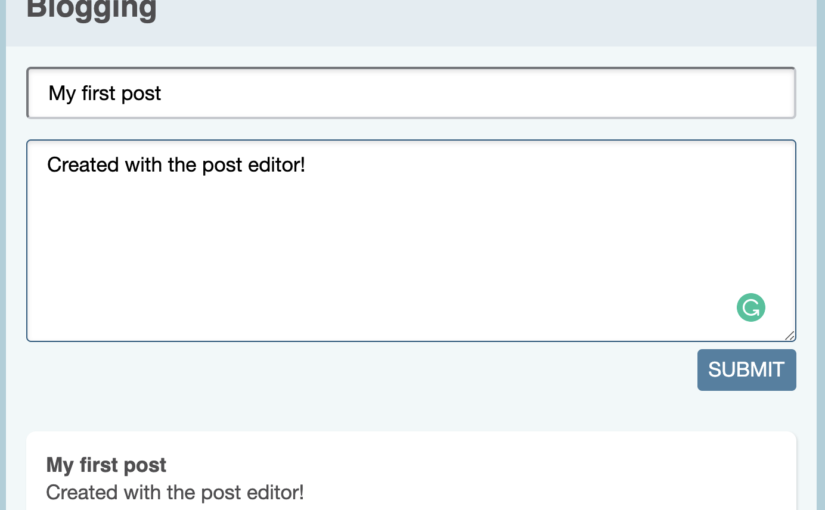
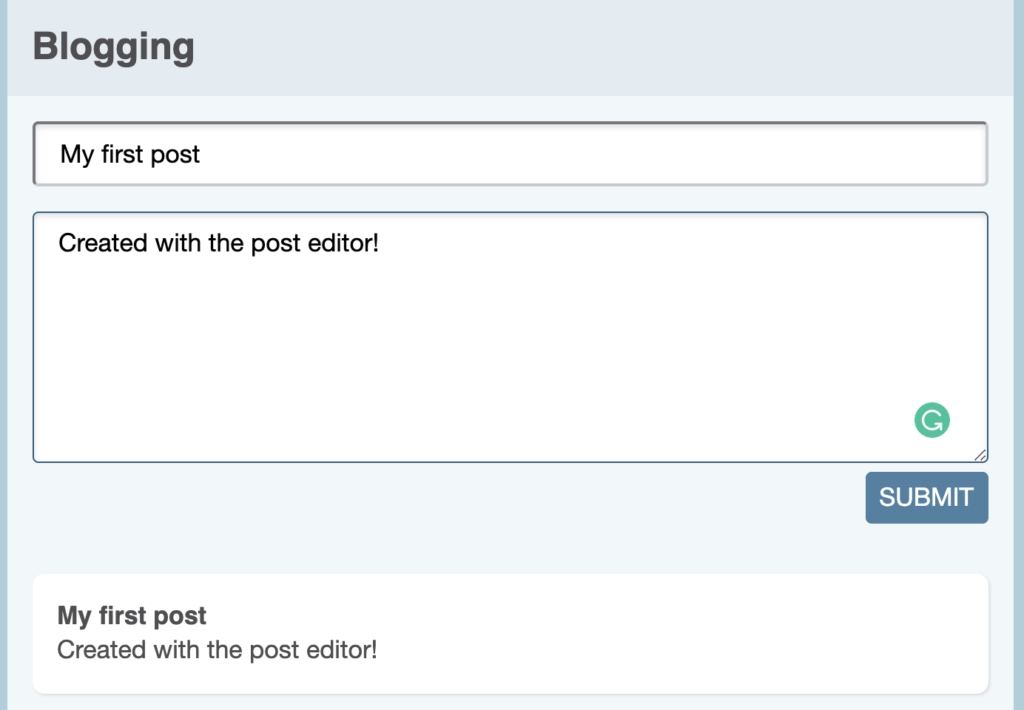
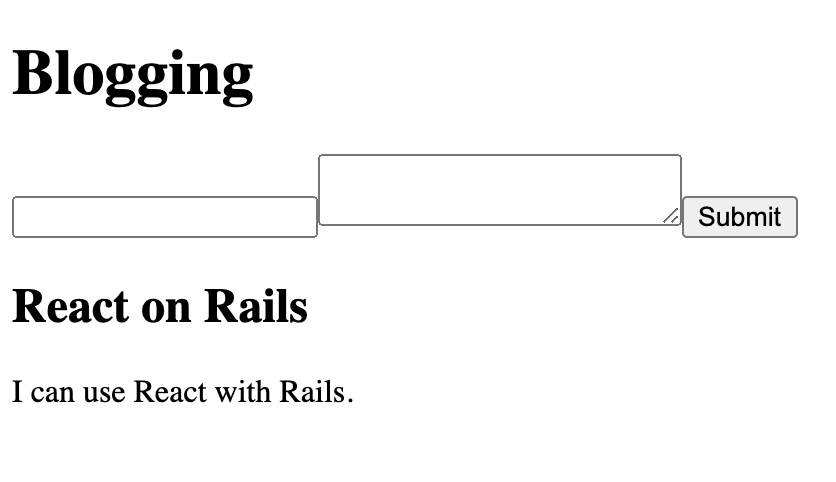
I added a couple of divs and some CSS classes to the top-level elements too. I’ll show you in a bit, but first I am gonna move that form to its own component. I’m not TDDing this bit because I’m kind of stumbling around to find something that works. I’ll test it later.
Here’s the code after tidying the page structure and extracting an Editor.
React has this concept of controlled components versus uncontrolled components. This concept comes to the fore when you use form elements.
Long story short, when we are writing plain HTML forms, we rely on the form elements to manage their own state that they magically send to the server when you hit SUBMIT. In React, we usually manage the state ourselves and do our own submitting.
A component is said to be controlled if its state changes are managed in a containing component. The basic idea is that you store the values from your form elements in React state, then pass them back in as properties when you render the form.
I’ve converted our Editor function to a class so that we can manage its state. I’ve set up some state for the form elements and I’ve added an event handler for the onChange event.
When the user changes the value of the title element or the body element, the onChange event bubbles up to the form element where we handle it and store the value with this.setState(post).
The {…} in the handler is a spread operator. I’m using it to make a copy of post and overwriting one property. React really doesn’t like it when you mutate objects directly and the spread operator provides an easy way to make a copy without changing the original object.
When you submit the form, Editor calls an onSubmit function that was passed in as a property. It calls event.default() first to prevent the page refresh and then writes the current state of the post to the console.
That’s all quite straightforward, I think, except: let me draw your attention to the bind code in the constructor.
this.handleChange = this.handleChange.bind(this)
In Javascript, the value of this is elusive and fleeting and often not what you think it is. In this situation, when our event handler tries to handle the onChange event, the value of this will be null and weird errors result unless you call bind().