
Deploy a React/Rails app to Heroku
May 3, 2021
Now that we are all secure, we can deploy our new blogging platform to the interwebs. Heroku makes it super easy and gives you clear instructions at every step. I’ll just summarize the highlights here.
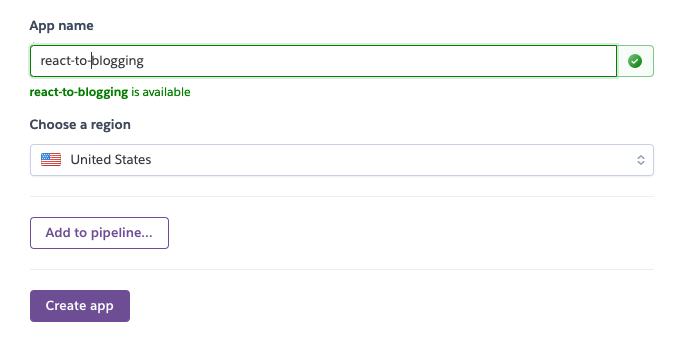
Start by creating a Heroku account and then go to your Heroku dashboard at https://dashboard.heroku.com/apps and click the NEW button.
Heroku has a free tier that restricts you to a certain number of hours of availability and rows in the database. Even the next level up (Hobby Tier) only costs $7 per month.
Once the app is created, Heroku gives you custom instructions to deploy your app.
For me it was:
heroku login
heroku git:remote -a react-to-blogging
git push heroku master
Heroku does not run the database migrations automatically so I’ll do that now.
heroku run rails db:migrateI’ll need to create a user and sign in before I can post. I can get to the rails console with…
heroku run rails console…and I can create a user record with…
User.create! email: 'sally@example.com', password: 'XXXXXXXX'
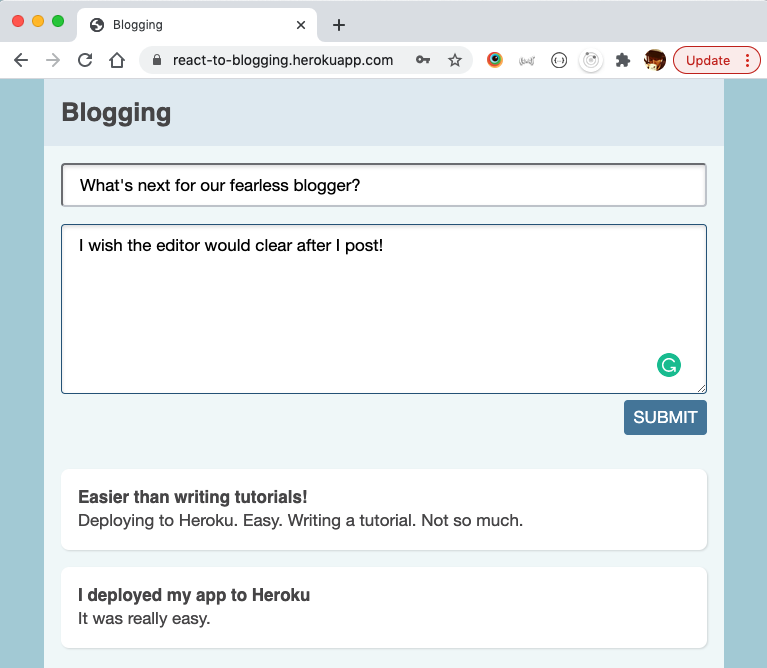
Now I can sign and post. That’s it. I’m blogging on Heroku.
You can visit the blog here: https://react-to-blogging.herokuapp.com/
One last thing: While I was deploying, I noticed a warning message saying that a Procfile is recommended. I haven’t seen any downsides of not having one but it gives you a place to run migrations automatically so I’ll add one now.
I copied this from somewhere or other.
web: bundle exec puma -C config/puma.rb
release: rake db:migrate
Back to writing code! What’s next, I wonder.
Post a Comment