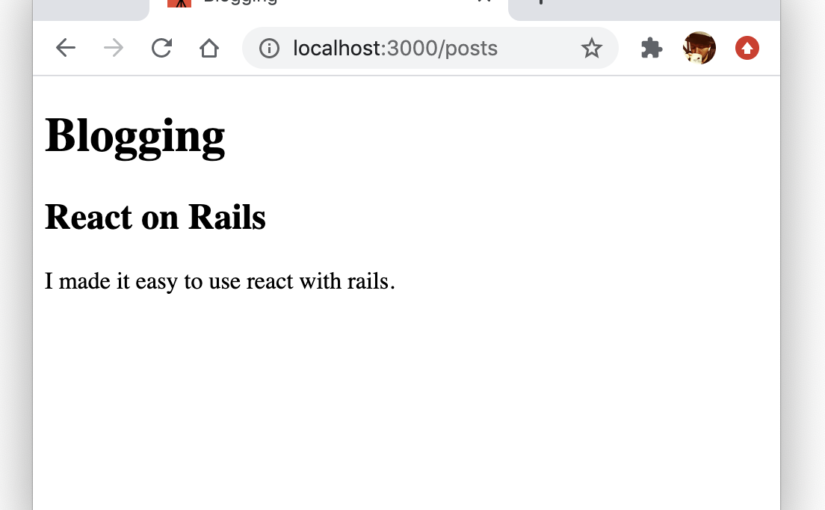
Let’s recap what we’ve done so far.
Let’s work on the React app that will turn our JSON into a beautiful blog post. I like to start with a completely hardcoded UI and work back incrementally from there until it connects with the JSON. We’ll start by deleting the Hello React app and replacing it with the real thing.
If you look under the app/javascript folder, you’ll see two packs.
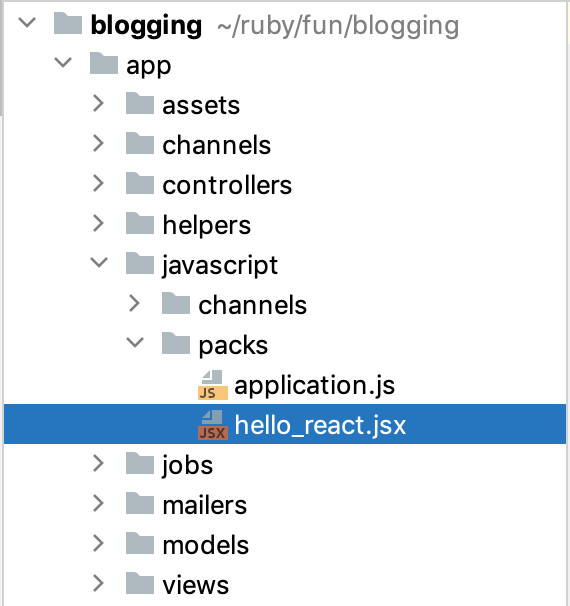
We’ll delete hello_react.jsx and fix up the application pack to show our blog post. Webpacker gets its knickers in a twist when you delete a pack but stopping and starting webpack-dev-server will usually fix it.
I like to have a top-level Application component that acts as a container for everything else. I also like to group my components on the file system by domain rather than the more usual functional buckets.
Let’s create the Application component and initialize it. I’ll explain what it is doing afterwards.
// javascript/application/Application.jsx
import React from 'react'

export function Application(props) {
  return <div id='application'>
    <h1 className='site-name'>Blogging</h1>
    <h2 className='title'>React on Rails</h2>
    <div className='body'>I can use React with Rails.</div>
  </div>
}
A few things to note if you are new to React.
React has a syntax that looks a lot like HTML for describing views. But it’s not HTML, it’s JSX!
JSX is an extension to Javascript syntax that gets compiled into React components. It’s hard to love JSX and why anyone thought it was a good idea to write code with angle brackets in the 21st century, I have no idea. I thought I was done with remembering to close tags about ten years ago. Maybe I should learn Pug next.
The simplest React component is just a function that returns some JSX. That thing that looks a bit like a <div> tag with an id attribute… that will actually get compiled into code that creates a div component and sets the id property. React components are all about the properties.
You may remember that HTML has a class attribute. But class is a reserved word in Javascript so React uses className instead (React components use camelCase for property names). You’ll remember this after you get it wrong the first 27 times.
The usual trick for bootstrapping a React app is to look for an element in the DOM and then render your React component inside it.
# javascript/application/index.jsx

import React from 'react'
import ReactDOM from 'react-dom'
import {Application} from './Application'

document.addEventListener('DOMContentLoaded', () => {
  const react = document.querySelector('#react')
  ReactDOM.render(
      <Application />,
      react.appendChild(document.createElement('div'))
  )
})
Here’s that div element with id=’react’ on our index page. We don’t need to include the javascript_pack_tag because the application layout file already includes it.
# index.html.erb
<div id='react' />
The last thing is to point the application pack file at our index.jsx.
// javascript/packs/application.js
import 'application'
If you import a folder, Javascript looks for an index.js (or index.jsx) file and runs that. If you have been following along, your javascript folder should look like this:
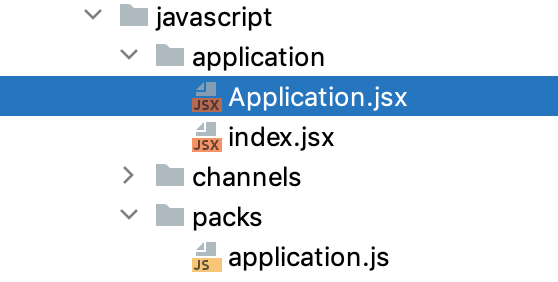
If you refresh your browser page now, it should look a bit like this:
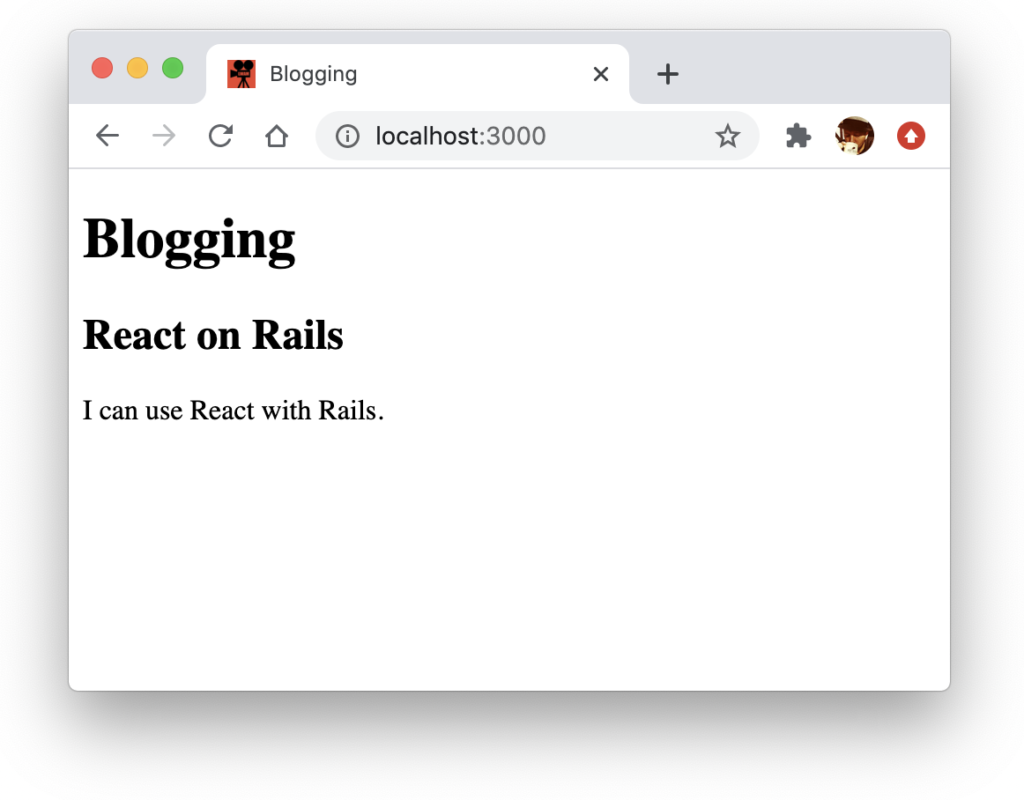
So that’s our top level Application component done. In the next episode we’ll tidy it up a little and add some tests.
A quick bonus tip before I go.
I like to add an entry to /etc/hosts for each local project. It saves you from resurrecting the ghost favicons from long-forgotten projects and stops your cookies from colliding if you are working on multiple projects at the same time.
# /etc/hosts
127.0.0.1       localhost blogging.local
Rails requires you to declare the host name as a security measure.
# config/environments/development.rb
Rails.application.configure do
  config.hosts << 'blogging.local'
  …
Don’t forget to restart the rails server if you change the environment files.
Now I can open the app in the browser with
open http://blogging.local:3000/posts/1.json