I find it hard to do test-first with UI components because I’m always in such a rush to see what the UI will look like. But test-last is better than no test, so let’s test now.
Jest is a unit testing library for Javascript and Enzyme provides an adapter that lets you interact with React components from your test code. We’ll install them using the Yarn package manager.
yarn add --dev jest
yarn add --dev enzyme
# Apparently enzyme-adapter-react-17 doesn't work.
# yarn add --dev enzyme-adapter-react-17

# But this does.
yarn add --dev @wojtekmaj/enzyme-adapter-react-17
Let’s create a test for our Application component.
// test/javascript/application/Application.test.js

import React from 'react'
import {mount} from 'enzyme'
import {configure} from 'enzyme'
// import Adapter from 'enzyme-adapter-react-17'
import Adapter from '@wojtekmaj/enzyme-adapter-react-17';

configure({ adapter: new Adapter() })

import {Application} from 'application/Application'

describe('The application', () => {
  test('shows the first blog post', () => {
    const component = mount(<Application />)

    expect(component.find('.site-name').text()).toBe('Blogging')
    expect(component.find('.title').text()).toBe('React on Rails')
    expect(component.find('.body').text()).toBe('I can use React with Rails.')
  })
})
mount() will instantiate your component, call all the React lifecycle methods (we’ll cover this later), render it and make the component available for you to write assertions against.
A note about rendering components with Enzyme.
Enzyme has three different methods for rendering a React component:
- shallow(<C />) renders C but not its child components.
- mount(<C />) renders C and, recursively, all of its children.
- render(<C />) renders just the component’s HTML.
It took me a long time to realize that these three methods do totally different things and each has a totally different API. This confused the hell out of me for weeks. Once I realized that, I decided to just stick with mount() unless I have a very good reason to just do a shallow rendering which, so far, is never.
A minor rant about behavioural-style test frameworks
Way back when the first JUnit extensions appeared that let you write tests in pseudo-English so your customer could read them, or maybe even write them, Ron Jeffries said that this was a dead end.
Pseudo-English would always have an uncanny valley feel about it; the tests would be hard to read and harder to write. If programmers write tests, better that they use normal programming conventions that programmers can understand.
I didn’t listen.
After struggling mightily with Fit, Fitnesse, Cucumber, RSpec and God Knows What Else, I decided that maybe Ron had a point and went back to plain JUnit-style assertions.
I don’t know about you, but I find this…
assert_equal 'Blogging', component.find('.site-name').text()
…much easier to read (and write!) than…
expect(component.find('.site-name').text()).toBe('Blogging')
Even better would be…
assert_select('.site-name', 'Blogging')
…and maybe I’ll do something about that one day.
In 20-something years, I’ve never had a customer who was interested in reading — never mind writing — these tests. Just write your best ruby/javascript/whatever and give the tests good names. It will be OK.
Running the tests
We have to tell Jest where to find the tests. Create jest.config.js in the root of your rails app.
// jest.config.js
module.exports = {
  moduleDirectories: [
    "node_modules",
    "app/javascript"
  ],

  rootDir: 'test/javascript',
  clearMocks: true,
  coverageDirectory: "test/results/coverage",
  testMatch: [
    "**/*.test.jsx",
  ],
}
We can run the test with
yarn jest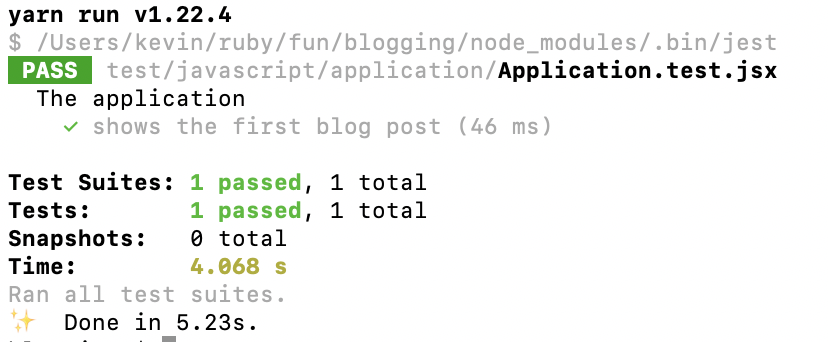
Continuous Integration
If you sign in to CircleCI via your GitHub account, you can have CircleCI run your tests for you.
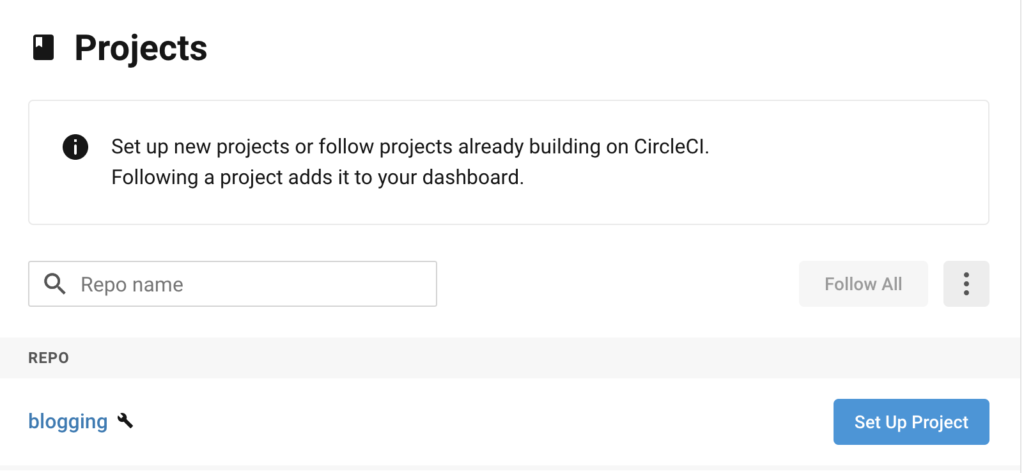
Click Set Up Project then follow the instructions to add the CircleCI config file to your project. I won’t repeat them here. If you are lucky, it will work first time.
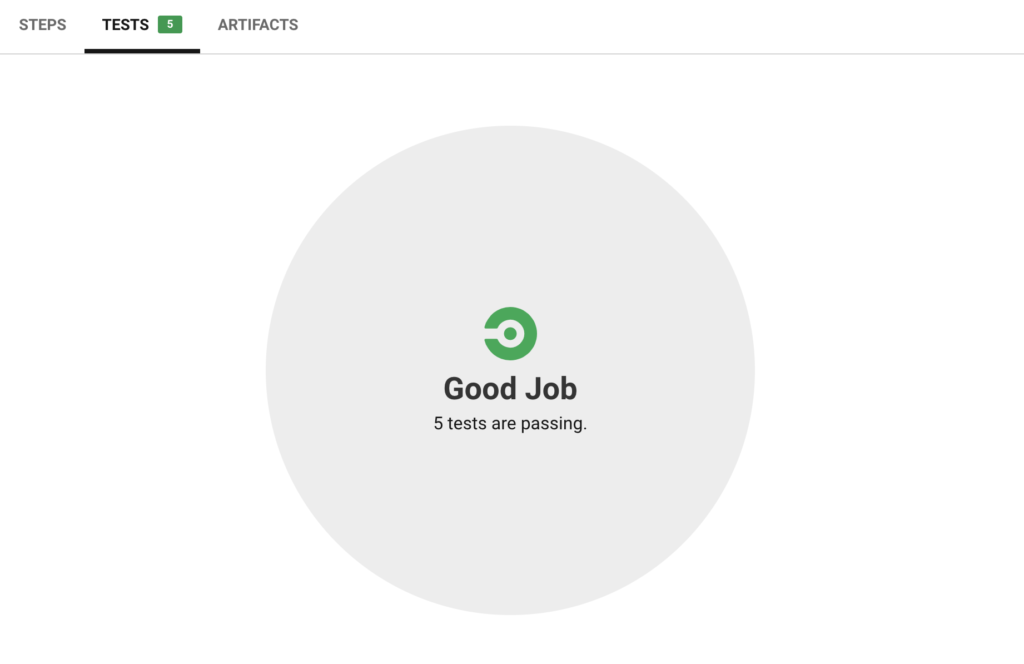
If you are unlucky like me, you’ll have to copy a working config.xml from somewhere else. You can copy mine if you like. I had to add minitest-ci to my Gemfile to get the test results to show up. I got there in the end.
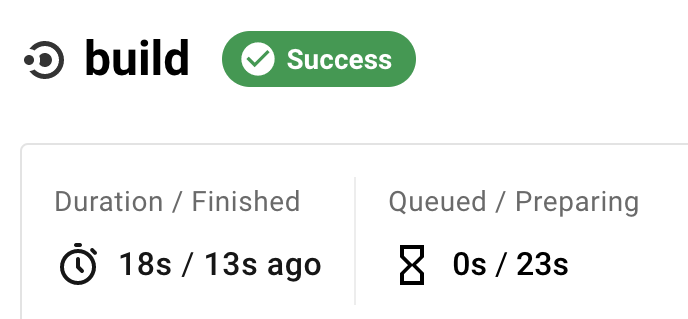
If you want to be really fancy, you can add the little badge that CircleCI generates to your README.md file.
Here’s mine:

And here it is on GitHub:
https://github.com/klawrence/blogging
Time to write some more code.
In the next instalment, we’ll hook our React component up to use our Rails JSON api.