I had a couple of gaps in my tests (I wasn’t testing the ConnectedPost) and I ran into the issue again where the HTML was not updated after an asynchronous call to the server. I did a a little research to figure out why.
When you make a call with await in a function, like this:
  async componentDidMount() {
    const post = await fetch(this.props.id)
    this.setState({post})
  }
Javascript returns a promise which gets resolved later. The React framework takes care of that eventually but, when you render your component in a test, you need to make sure all the promises are resolved before you check the resulting HTML.
Jest gives us a function to make that happen and I am going to add a helper to my React helper file to make it easy to use.
// ReactHelper.jsx
export const resolveAllPromises = () => new Promise(setImmediate)
Whenever I test a component that makes asynchronous calls, I have to remember to call resolveAllPromises() and make the test function async, like this:
// posts/Post.test.jsx
  test('fetches a post from the server', async () => {
    server.send.mockReturnValue(post)

    const component = display(<ConnectedPost id={1}/>)
    await resolveAllPromises()
    component.update()

    assert_select(component, '.post .title', 'The title')
    expect(server.send).toBeCalledWith('/posts/1.json')
  })
But wait! Why should I have to remember do call that every time? I can add it to the helper like this:
  test('fetches a post from the server', async () => {
    server.send.mockReturnValue(post)

    const component = await displayConnected(<ConnectedPost id={1}/>)

    assert_select(component, '.post .title', 'The title')
    expect(server.send).toBeCalledWith('/posts/1.json')
  })
I’m glad that’s straightened out. Back to the storyline.
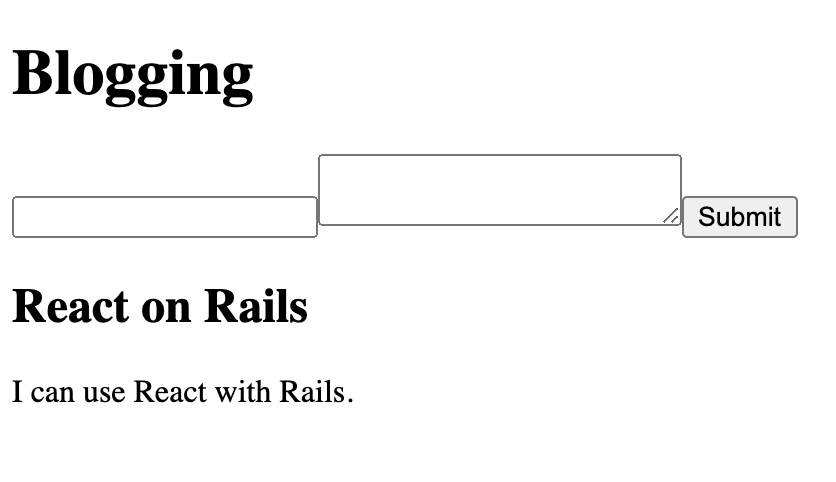
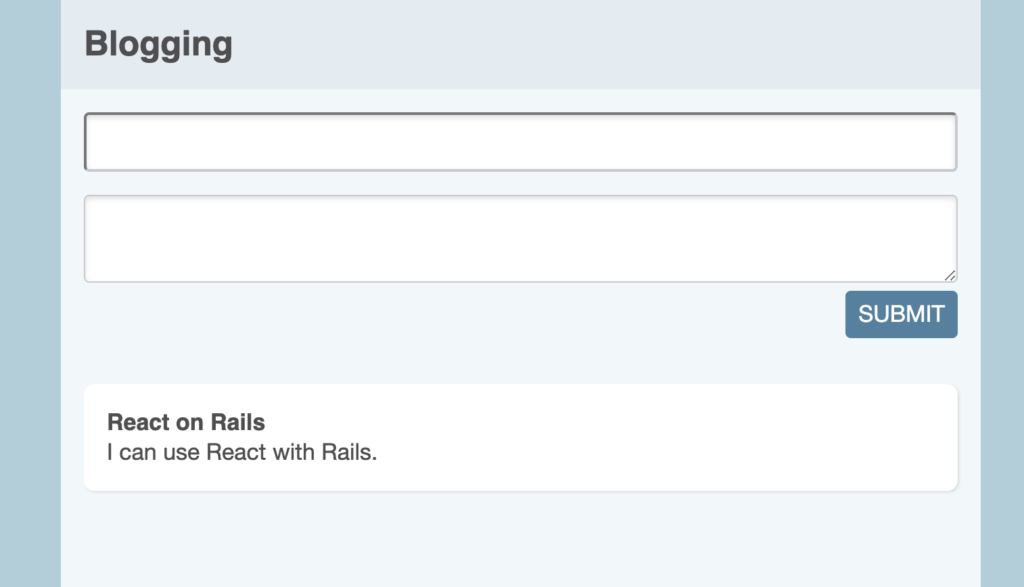
I added a couple of divs and some CSS classes to the top-level elements too. I’ll show you in a bit, but first I am gonna move that form to its own component. I’m not TDDing this bit because I’m kind of stumbling around to find something that works. I’ll test it later.
Here’s the code after tidying the page structure and extracting an Editor.
React has this concept of controlled components versus uncontrolled components. This concept comes to the fore when you use form elements.
Long story short, when we are writing plain HTML forms, we rely on the form elements to manage their own state that they magically send to the server when you hit SUBMIT. In React, we usually manage the state ourselves and do our own submitting.
A component is said to be controlled if its state changes are managed in a containing component. The basic idea is that you store the values from your form elements in React state, then pass them back in as properties when you render the form.
I’ve converted our Editor function to a class so that we can manage its state. I’ve set up some state for the form elements and I’ve added an event handler for the onChange event.
When the user changes the value of the title element or the body element, the onChange event bubbles up to the form element where we handle it and store the value with this.setState(post).
The {…} in the handler is a spread operator. I’m using it to make a copy of post and overwriting one property. React really doesn’t like it when you mutate objects directly and the spread operator provides an easy way to make a copy without changing the original object.
When you submit the form, Editor calls an onSubmit function that was passed in as a property. It calls event.default() first to prevent the page refresh and then writes the current state of the post to the console.
That’s all quite straightforward, I think, except: let me draw your attention to the bind code in the constructor.
this.handleChange = this.handleChange.bind(this)
In Javascript, the value of this is elusive and fleeting and often not what you think it is. In this situation, when our event handler tries to handle the onChange event, the value of this will be null and weird errors result unless you call bind().
I’m going to do an experiment on a branch to see if I can make the interface for testing a little easier to read. I want something a bit more like assert_select in Rails.
Let’s see now. Pretending it’s magic…
  test('shows the first blog post', async () => {
    const component = await mount(<Application />)

    check(component).has(
        {
          '.site-name':   'Blogging',
          '.post .title': 'React on Rails',
          '.post .body':  'I can use React with Rails.',
        }
    )
  })
Or, how about this?
  test('also shows the first blog post', async () => {
    const component = await mount(<Application />)
    assert_select(component, '.site-name',   'Blogging')
    assert_select(component, '.post .title', 'React on Rails')
    assert_select(component, '.post .body',  'I can use React with Rails.')
  })
assert_select in Rails allows nesting. Maybe something like this?
 test('shows the first blog post with nesting', async () => {
    const component = await mount(<Application />)

    assert_select(component, '.site-name',   'Blogging')
    assert_select(component, '.post', match => {
      assert_select(match, '.title', 'React on Rails')
      assert_select(match, '.body', 'I can use React with Rails.')
    })
  })
Let’s try the simple (non-nested) version for a while to see how it feels. Here’s a quick implementation.
export function assert_select(component, selector, expectation=1) {
  const selected = component.find(selector)
  switch(typeof(expectation)) {
    case 'string':
      expect(selected.text()).toEqual(expectation)
      break
    case 'number':
      expect(selected.length).toEqual(expectation)
      break
    default:
      expect(expectation).toEqual('string or number')
      break
  }
}
If the expectation is a string, we’ll see if text matches. If it’s a number, we’ll check the number of matches. If you skip the expectation, we’ll just check that there is a match.
Let’s see how it goes. I’ll extract this into a ReactHelper along with a wrapper function for mount() that I will call display().
// test/javascript/helpers/ReactHelper.jsx

import {configure, mount} from 'enzyme'
import Adapter from 'enzyme-adapter-react-16'

configure({ adapter: new Adapter() })

export function display(component) {
  return mount(component)
}
This hides away the fiddly code to initialise enzyme and (SPOILERS) it also provides a handy place to initialise global state should we need that later.
I’ve updated all the tests to use assert_select and the setup code in ReactHelper.
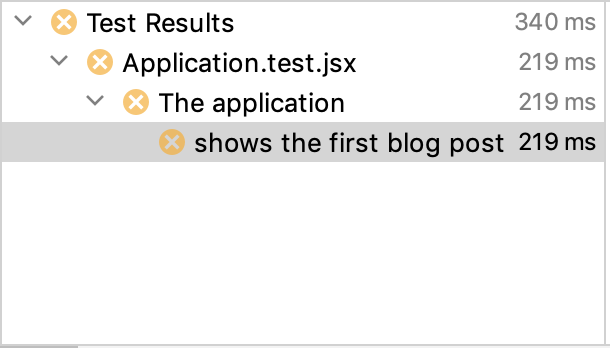
The application test fails because it is trying to make a network request and, as everyone knows, we don’t want to make network requests in unit tests.
I suppose I could change the Application.test to use shallow() instead of mount() but then we wouldn’t actually be testing very much — and we’ll have to deal with this network request problem eventually.
Axios comes with an API for mocking network requests but it all feels a bit low-level to me.
What I’d like to do is refactor the code so that it is easy to switch out the network layer entirely when we are testing. Let’s introduce an API layer with a function to fetch posts.
We’ll start by extracting a method fetchPost(), then convert it to be an async function and await the response in componentDidMount(). Then, finally, we’ll move the function to its own file.
I’ll just show the final result.
// posts/api.js
import * as axios from 'axios'

export function fetch(id) {
  const request = {
    url: `/posts/${id}.json`
  }
  return axios(request).then(response => response.data)
}
// posts/Post.jsx
import {fetch} from './api'

  ...

  async componentDidMount() {
    const post = await fetch(1)
    this.setState({post})
  }
axios() returns a promise with the response and we only care about the data in the response. We’ll worry about errors later.
ConnectedPost waits for the data in an asyncmethod.
We’re not done yet because I’d like to introduce one more level of indirection. I want to abstract away the call to the server partly because this code will end up being used in a bunch of places and partly because that’s where I want to introduce my cleavage point for mocking.
All problems in computer science can be solved by another level of indirection.
// remote/server.js
import * as axios from 'axios'

export const server = {send}
function send(url) {
  const request = {url}
  return axios(request).then(response => response.data)
}
// posts.api.js
import {server} from 'remote/server'

export function fetchPost(id) {
  return server.send(`/posts/${id}.json`)
}
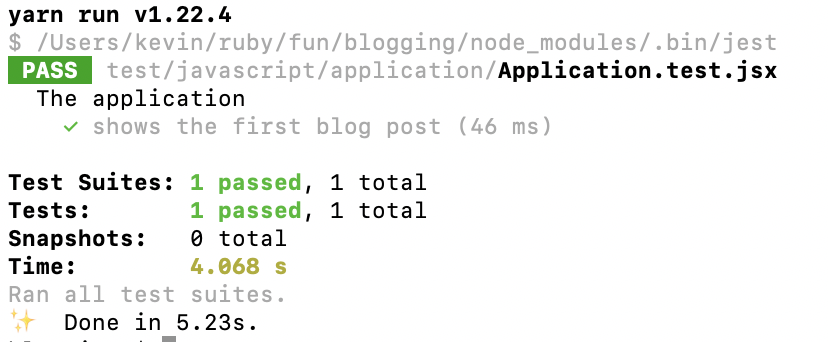
There. That looks much nicer and now we are finally ready to mock out that server connection In Application.test.jsx.
import {Application} from 'application/Application'
import {server} from 'remote/server'

describe('The application', () => {
  server.send = jest.fn()

  const post = {
    id: 1,
    title: 'React on Rails',
    body: 'I can use React with Rails.',
  }

  beforeEach( () => {
    server.send.mockReturnValue(post)
  })

  test('shows the first blog post', async () => {
    const component = await mount(<Application />)

    expect(component.find('.site-name').text()).toEqual('Blogging')
    expect(component.find('.title').text()).toEqual('React on Rails')
    expect(component.find('.body').text()).toEqual('I can use React with Rails.')

    expect(server.send).toBeCalledWith('/posts/1.json')
  })
})
Jest has a really nice syntax for creating mock functions. jest.fn() returns a function that you can manipulate to set the return value. I’m mocking the send() function in our server object.
CircleCI says that all is good with the world once more.
I find it hard to do test-first with UI components because I’m always in such a rush to see what the UI will look like. But test-last is better than no test, so let’s test now.
Jest is a unit testing library for Javascript and Enzyme provides an adapter that lets you interact with React components from your test code. We’ll install them using the Yarn package manager.
yarn add --dev jest
yarn add --dev enzyme
# Apparently enzyme-adapter-react-17 doesn't work.
# yarn add --dev enzyme-adapter-react-17

# But this does.
yarn add --dev @wojtekmaj/enzyme-adapter-react-17
Let’s create a test for our Application component.
// test/javascript/application/Application.test.js

import React from 'react'
import {mount} from 'enzyme'
import {configure} from 'enzyme'
// import Adapter from 'enzyme-adapter-react-17'
import Adapter from '@wojtekmaj/enzyme-adapter-react-17';

configure({ adapter: new Adapter() })

import {Application} from 'application/Application'

describe('The application', () => {
  test('shows the first blog post', () => {
    const component = mount(<Application />)

    expect(component.find('.site-name').text()).toBe('Blogging')
    expect(component.find('.title').text()).toBe('React on Rails')
    expect(component.find('.body').text()).toBe('I can use React with Rails.')
  })
})
mount() will instantiate your component, call all the React lifecycle methods (we’ll cover this later), render it and make the component available for you to write assertions against.
A note about rendering components with Enzyme.
Enzyme has three different methods for rendering a React component:
shallow(<C />) renders C but not its child components.
mount(<C />) renders C and, recursively, all of its children.
render(<C />)renders just the component’s HTML.
It took me a long time to realize that these three methods do totally different things and each has a totally different API. This confused the hell out of me for weeks. Once I realized that, I decided to just stick with mount() unless I have a very good reason to just do a shallow rendering which, so far, is never.
A minor rant about behavioural-style test frameworks
Way back when the first JUnit extensions appeared that let you write tests in pseudo-English so your customer could read them, or maybe even write them, Ron Jeffries said that this was a dead end.
Pseudo-English would always have an uncanny valley feel about it; the tests would be hard to read and harder to write. If programmers write tests, better that they use normal programming conventions that programmers can understand.
I didn’t listen.
After struggling mightily with Fit, Fitnesse, Cucumber, RSpec and God Knows What Else, I decided that maybe Ron had a point and went back to plain JUnit-style assertions.
In 20-something years, I’ve never had a customer who was interested in reading — never mind writing — these tests. Just write your best ruby/javascript/whatever and give the tests good names. It will be OK.
Running the tests
We have to tell Jest where to find the tests. Create jest.config.js in the root of your rails app.
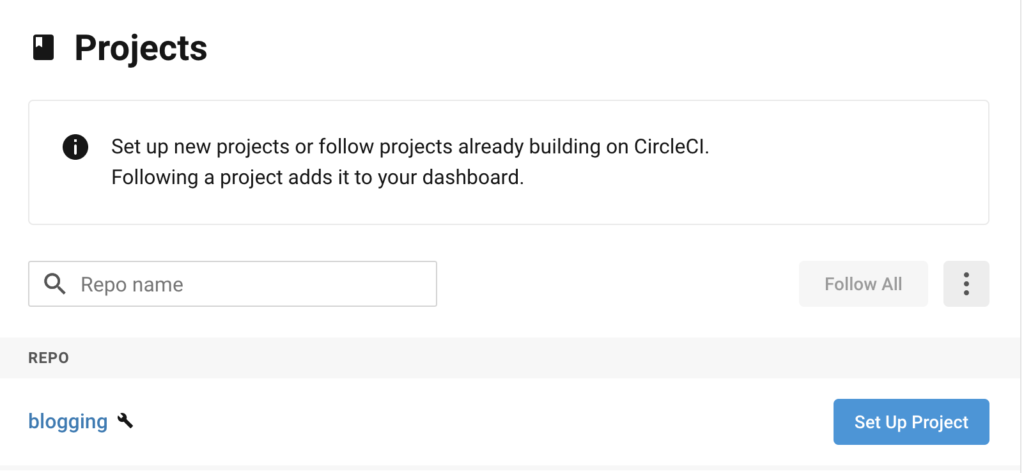
If you sign in to CircleCI via your GitHub account, you can have CircleCI run your tests for you.
Click Set Up Project then follow the instructions to add the CircleCI config file to your project. I won’t repeat them here. If you are lucky, it will work first time.
If you are unlucky like me, you’ll have to copy a working config.xml from somewhere else. You can copy mine if you like. I had to add minitest-ci to my Gemfile to get the test results to show up. I got there in the end.
If you want to be really fancy, you can add the little badge that CircleCI generates to your README.md file.